These were a little different to the ones over the bed because the foundation structure was different. The steel came up higher on the side of the bus and there is now a bathroom wall to bolt things to. We did not need to make as heavy duty frame as the previous shelving required. It is, however, still bolted with 3mm steel angle, aluminium angle, and M8 or M10 bolts and rivnuts to the steel parts.
The wood used was the same Bunnings laminated pine (sold by the panel) and other pine lengths which we cut, routed with a 'bull nose', so I don't bang my head on a sharp corner. It is puttied, sanded and painted with gloss.
We used the same 'easy fit' hinges from Mitre 10 or Home hardware but we have hung them so they open fully and do not clip into themselves (which almost never happened properly due to the movement and weight of the door).
The latches have been purchased from eBay and are those used in caravans/motorhomes (see previous posts for the link). It is a requirement that "latches are such that they do not come open under the rigors of travel" according to our engineer checklist... so that is what we bought! They lock when the knob is pressed in.

Here you can see bolts, steel aluminum AND rivnuts used. The crack in the plastic moulding will be filled with... something... later. It is just cosmetic.

Wood edge finishes it off and ensures stray cans don't drop on our heads when we open the door.
The insulation is the same as we have used throughout the bus. It was purchased from Bunnings and has a good sound AND heat rating.
The insulation is the same as we have used throughout the bus. It was purchased from Bunnings and has a good sound AND heat rating.
We will line the roof with some shiny plastic covered ply stuff. We would have loved to use the same 'WallArt' as in the bathroom but it is expensive and very heavy.
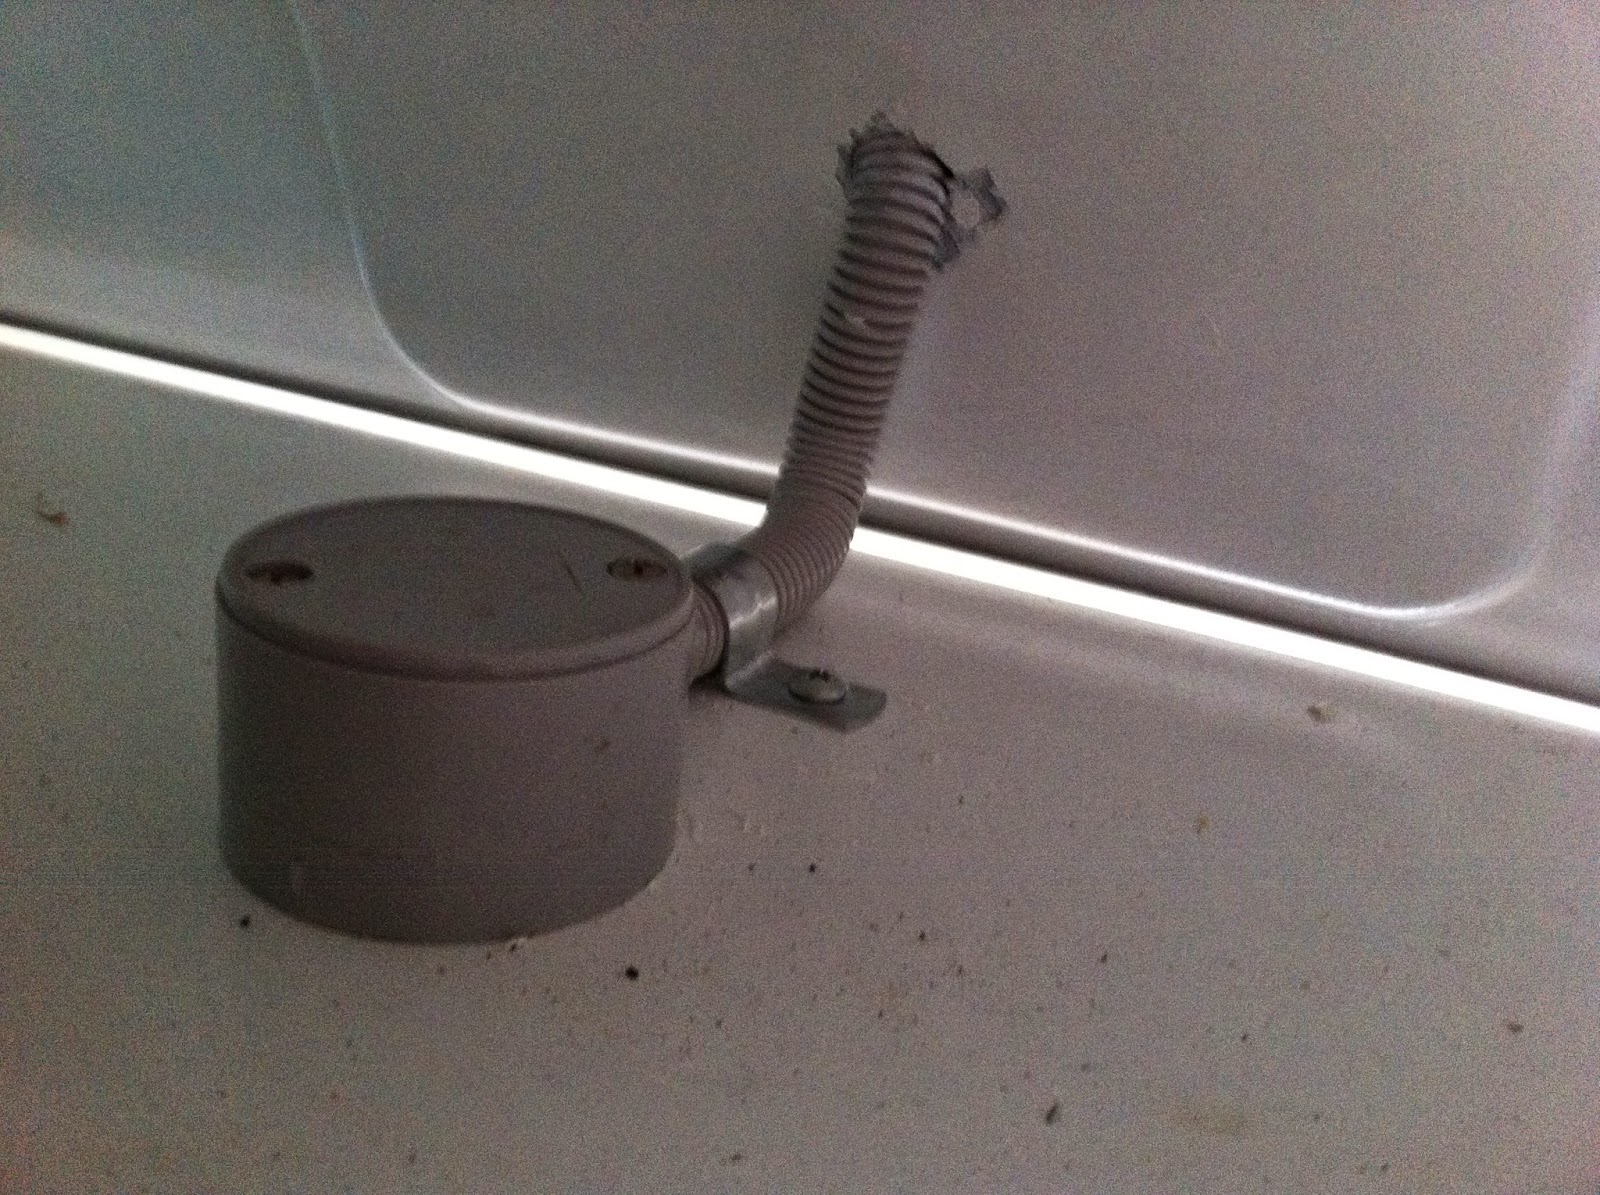
We ran the cable for the light through the roof (in conduit), into the cupboard and capped it off with this thing to cover the connection and protect it from damage. All these little junction boxes, conduit, saddles etc are available from Bunnings. We got the wire online as it is specific for the job (I'll talk about it in a later post).

Here's the hinge and how we have attached it in a different way. We could only get them in a brassy colour but you don't see them much from the outside so they don't clash with the brushed pewter/silver of the other fittings.

All done!
Well, except for the end bit on the cupboard on the right but we have to leave that bit off to finish the electrical stuff.
Here you can see some of the shiny lining panel (from Mitre 10) that we will continue to use when we line the roof.
On a side note: Look! The Rollaway shower screen/bathroom door from Northcoach RV can be seen and is in the closed position. We did need to cover it with frosted tint as the original door was very see through. On the right of the door we may or may not stick a full length mirror panel. We have not decided yet. http://www.northcoach.com.au/rollaway-shower-screen/
No comments:
Post a Comment